WPMark consists of two components: a WordPress plugin and a JMeter test plan. The WordPress plugin populates an empty install with the requisite demo content, sets up the requisite options, and generates cached copies of portions of the site for testing.
Methodology
What the WPMark Plugin Does
WPMark Twenty Twelve generates 500 posts are randomly with a log-normal distribution for word count with normal mean of 6 and normal standard deviation of 0.8. This produces a distribution of post word lengths that peaks just past 200 and tails off with a still sizable occurrence of 1500 word posts. This is to model the wide range of post lengths on an “average” website (there are some very long winded writers out there). The words are selected from a dictionary of the top 5,000 most commonly used English words. These words are organized into sentences and paragraphs of random lengths with roughly uniform distributions.
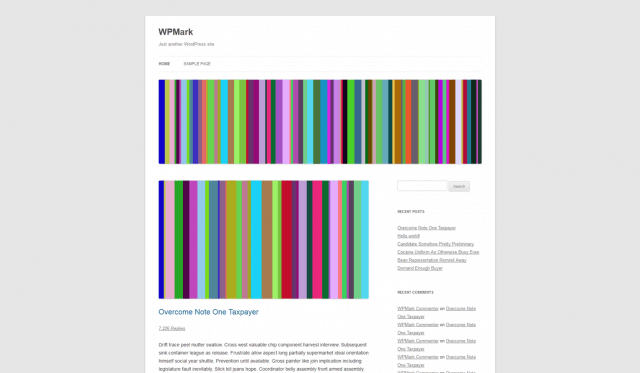
Screenshot of the front page of a WordPress install with WPMark setup
Featured images are randomly generated for each post, as are tag and category selections. For WPMark Twenty Twelve, the WordPress version is standardized to version 3.5 and the theme is standardized to the Twenty Twelve theme. For WPMark Twenty Fourteen the WordPress version will be standardized to 3.9, and the theme will be standardized to Twenty Fourteen.
For WordPress installs there are three situations of most interest:
- Dynamically generated page load time
- Cached/static content load time
- Comment submittal time
The first stresses database reads, the second stresses disk read throughpust and the last stresses database writes. While large file transfer could be part of this mix, current treads have most large files being moved from small hosts to CDNs. Thus, that fourth case is not considered for this benchmark.
What the WPMark JMeter Test Plan Does
The Apache Foundation’s JMeter was selected for generating loads for the web server and to measure resource response times. JMeter is a very versatile tool that can emulate many behaviors of real web browsers, including parsing of a webpage for script and image elements to fetch them from the server. JMeter uses Test Plans for the series of commands it follows while running. For WPMark, a standardized Test Plan containing the following tests was settled on:
- A measure of the response time for loading the main page, a search query, submitting a comment, and the cached version of the main page under the load of 1 user, repeated 1000 times.
- A measure of the response time for loading the main page, a search query, submitting a comment, and the cached version of the main page under the load of 50 users, repeated 200 times.
The components within the tests were selected to stress different server subsystems. The cached results stressing IO, the comment submittal stressing database writes, and the search stressing database reads. The single user test is intended to capture the best case scenario performance for the given configuration, while the 50 user test that complements it offers a heavy load comparison.
After completing a test, the WPMark Test Plan has JMeter generate a summary report containing min, max, and average response times for the requested resource (plus linked script and image elements). It also reports the standard deviation for the response times. Additionally, the resource throughput, bandwidth, and average bytes downloaded are reported for each test element.
Get WPMark Twenty Twelve
WPMark is hosted on GitHub, you can find the latest version there.
You will also need:
- A webserver capable of running WordPress, with cURL support
- WordPress 3.6 or newer installed with the Twenty Twelve theme activated
- A client with Apache JMeter 2.11 (or newer) installed (requires Java)
Using WPMark
Setting up the Plugin
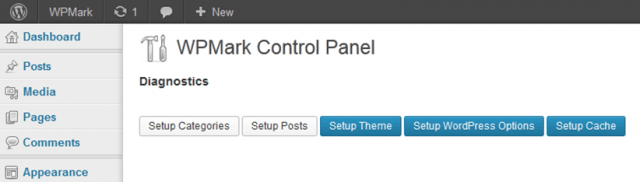
Screenshot of the WPMark Control Panel
Install WPMark onto a fresh WordPress install. Once installed, set Twenty Twelve as the active theme. Then, navigate to the WPMark Control Panel found under Tools > WPMark.
In the WPMark Control Panel, press the buttons, from left to right. Start with “Setup Categories”, note that this may take a little bit of time to run. Once the page has reloaded, press the “Setup Posts” button, this will take much longer than the Setup Categories process. Note that once executed, the Setup Categories and Setup Posts buttons will turn gray to prevent you from re-running them.
After running Setup Categories and Setup Posts, press the “Setup Theme” button. This will setup the Twenty Twelve theme for the test (it sets a header image). Next, press “Setup WordPress Options”. This turns off comments and moderation notification emails, as that is not part of the WPMark focus areas. Additionally, it turns on comment pagination, with 20 comments per a page. Lastly, it sets the number of posts per a page to 10. After Setup WordPress Options has completed, press “Setup Cache”, which will grab the current contents of a few select pages for use on the cached content tests.
Using the Test Plan
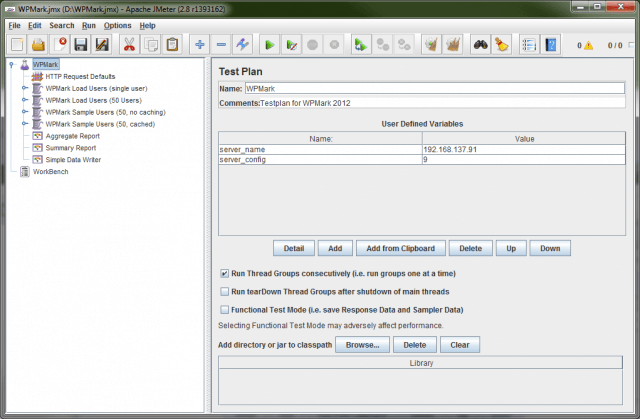
JMeter with the WPMark Twenty Twelve Test Plan loaded
The WPMark JMeter Test Plan contains two parameters that should be changed before initiating a test. The first is server_name. This setting is the URL/IP address of the server you will be testing against; it should match the WordPress Address setting on the server being tested. The second setting is server_config. This setting does not affect the test, but is used in the naming of output logs. It exists to help keep track of separate runs (as was necessary when running the tests for Benchmarking WordPress (Investigating the Optimal Server)).
When you are ready to begin a test, press the “Start” button (green “play” arrow in the tool bar). Click on the “Aggregate Report” or the “Summary Report” to view the progress and results when the tests are complete.
Things to Keep in Mind
It is strongly suggested the server under test and the load generator be connected to the same network. That is, they are attached to the same network switch, and there are no routers between them. When benchmarking a server, the intent is to measure the server’s performance, not the performance of the network. Thus, it is not desirable to have load generators that are far away from the server (e.g. on a different network, having to traverse through 1 or more routers, traversing over a WAN link, etc.).
Bugs, Improvements, etc.
Open an issue on GitHub, or try fixing the issue and generate a pull request.
Background
WPMark Twenty Twelve was created in part for a class project back in 2012. Since its inception, the intent was to release a version for the public to tinker with. The first step was to release the results of the project for which WPMark was created. Those results are available in the post Benchmarking WordPress (Investigating the Optimal Server), published in April of 2013.
Benchmarking WordPress (Investigating the Optimal Server) was taken primarily from the project paper I submitted for that class. Naturally, some modifications, reordering of content, and formating for the web occurred. It was easy to release as the paper had already been written, and only relied on some table formatting that required a design update of this site.
-John Havlik
[end of transmission, stay tuned]
This is awesome John, great work!!!